
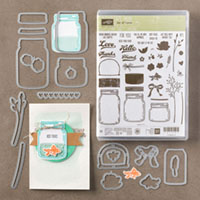
For shaker cards you need a few more layers than your average card (including a window sheet or piece of acetate as one of your layers) to make one. I usually start with the top layer and add my window sheet. In this card, I took a piece of Whisper White cardstock (5 1/4 in. x 4 in.) and placed the largest mason jar dies where j wanted them to tumble (somewhat off the page) and ran it through the Big Shot. Then I adhered that, VERY CAREFULLY, to the window sheet and cut off any excess. Then I was ready for the next step.
I wanted there to be more detail to the front and have the jars look like they were tumbling down the card, filled with goodies, but I only wanted a frame of the mason jars, instead of three solid images. In order to accomplish this, I took the largest jar die and traced around it, then cut them out of Basic Gray cardstock. That gave me a solid image slightly larger than the die cut image. Then I placed the jar die just inside my freshly cut image and ran it through the Big Shot, which left me with my jar frames. I took all three frames and arranged them on the "open" spaces where the jars were cut out of my Whisper White cardstock and window layer and adhered them. Some of the jar frames hung off the edge, so I trimmed off any parts that hung over.
Next, I flipped my front layer over so that it was face down. Then I took the foam adhesive strips and made boarders just outside the perimeters of each mason jar. This step is crucial! You need to make sure that when you're creating your boarders that your foam ends touch to create a well. If there is any space left open, you're shaker contents will escape, and nobody wants to spend all that time on a shaker card, only to have it "shakerless". I then put more foam dimensionals (doubled up on top of each other) to give the top layer more stability.
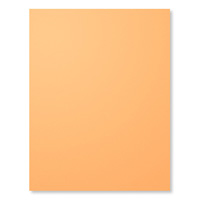
You will then need to cut your next layer (which you will adhere the front to). For this, I cut a 5 1/2 x 4 1/4 piece of whisper white. I used my top layer as a guide as to where the sequins piles should sit so as to avoid filling the wells with the contents and then trying to, somewhat blindly, try to adhere the layer centered on the back, but either way can achieve the same results. I just didn't trust my placement while it was upside down. Now you should have a small border around the front layer, but there will still be holes in the ends where the shakers were trimmed, so DON'T shake it yet! Take the foam strips and line the outer border with it to close up any open holes in your jars. At this point you might have noticed that there's this tacky border left now. Well I just cut out a border out of the gorgeous new in-color Peekaboo Peach, stamped one of the tiny, adorable stamps from this same "Jars of Love set", and adhered that on top of the foam strips.
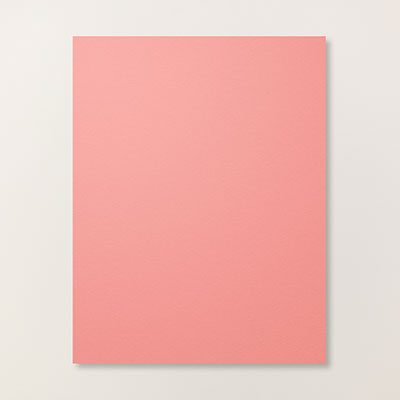
Lastly, I added a base layer (5 3/4 x 4 1/2) out of another stunning new In-Color Flirty Flamingo. I used the same cardstock, stamped my greeting in white craft ink, added white embossing powder, embossed it with my heat tool, and voilà! A fun twist on the shaker card! All the supplies I used are listed down below. Thanks for stopping by and happy stamping, Peaches!


Here's the finished gift, ready to go!:

Check out my store:
Make sure you see my name in the upper right hand corner of the page or select "find a demonstrator", then "demonstrator directory" and search my name, Lauren Alarid. Email me with any questions at Craftylittlepeach@gmail.com
You can also check out my Pinterest Board:


No comments:
Post a Comment
Note: Only a member of this blog may post a comment.